
| PXE Diskless iSCSI Boot - Create Image Disk iSCSI Target |
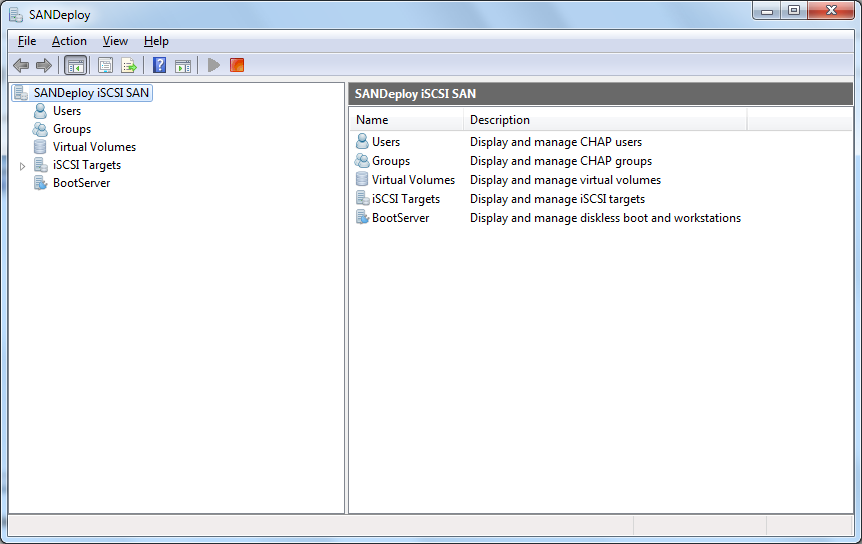
Click All Programs->SANDeploy->SANDeploy Boot Server, the SANDeploy iSCSI SAN Management Console main interface shows.
Specify Operator Client
Before performing diskless booting, you need an operator to upload operation system's data file to iSCSI disk, to became operator, you need CHAP User or use Add Workstation option.
To use CHAP, you need to follow the two steps.
Right click on the Users node of left tree view in the main interface, the Create or Edit User dialog shows.
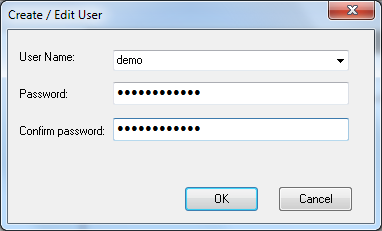
Type User Name, Password and Confirm password, the characters count should be more than (or equal) 12 characters and less than (or equal) 16 characters.
Press the OK button to create CHAP user.
After CHAP user is created, we need a group to hold it and assign it's access right. Right click on the Groups node of the left tree view in the main interface, the Create / Edit Group dialog shows.
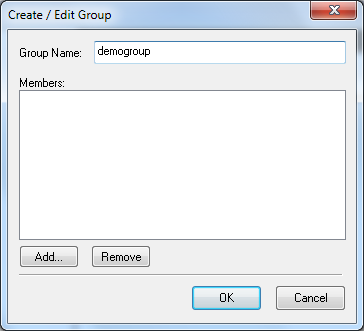
Type Group name.
Press the Add... button, the Choose User dialog shows.
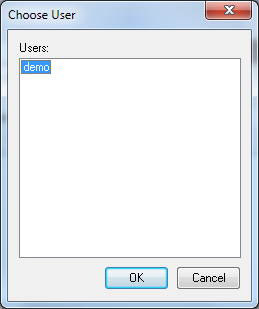
Choose a user.
Press the OK button to continue.
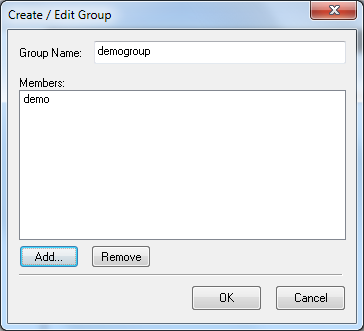
Press the OK button to complete the group creating.
Right click on the BootServer node of left tree view in the main interface, the Add Workstation dialog shows.
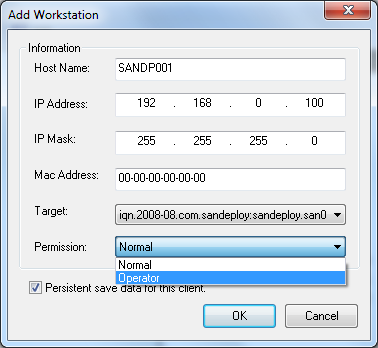
Type Host Name, IP Address, IP Mask and the Mac Address of the operator client machine.
Select a Target for iSCSI booting.
Select Operator as Permission.
Press the OK button to continue.
Create Virtual Volumes
Right click on the Virtual Volumes node of left tree view in the main interface.
Select Create Virtual Volume... from the pop-up menu.
The Create Volume Wizard shows.

Select Standard Image file and press Next button to continue.
Specify image file and size.

User can either select to open an existed image file or choose to create a new image file.
To create new image file, please select the location of the file where user wants to create the file, specify the capacity of the image file.
Specify Write-Back Cache Setting

Check Enable write-back cache for this volume.
Select an appropriate directory to store temporary data from clients, the directory should have enough space.
Specify quota data amount for each client.
Press the Next button to continue.
Finish the virtual volume creating.

On the finish window, you can input some descriptions of the volume. Then press Finish button to exit.
Create iSCSI Target
Right click on the iSCSI Targets
node of the left tree view in the main interface.
Select Create Target... from the pop-up
menu. The Create iSCSI Target Wizard
shows.
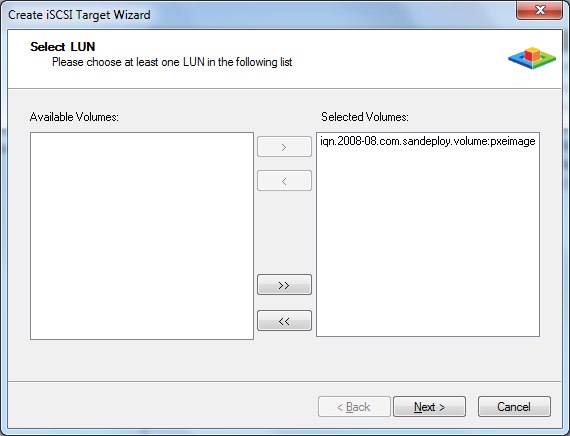
Select LUNs

Select the volume in the Available Volumes box, and then press the > button to add it to the Selected Volumes box.
Press the Next button to continue.
Specify CHAP user settings.
When you want to use CHAP, select some groups from Available Groups box, and then click > button to add them to Selected Administrator's Groups.

Press the Next button to continue.
Finish iSCSI Target Creating
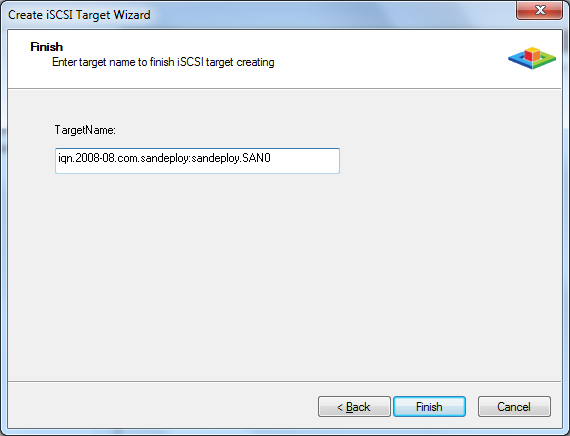
In the finish widow, type target name as you wish.
Press the Finish button to exit.