
| Installing SANDeploy Boot Server |
SANDeploy Boot Server can be easily installed by following the instructions introduced in this section.
If previous version of the SANDeploy Boot Server has been installed on your server, please close all the SANDeploy Boot Server applications.
Step 1. Welcome to SANDeploy Boot Server
Start the installation by double clicking the installer icon. The
Welcome window
appears.
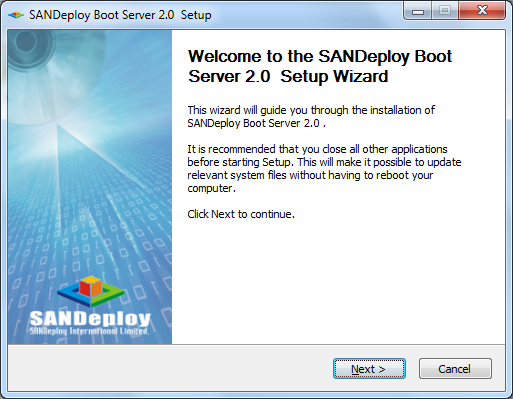
Press the Next button to continue.
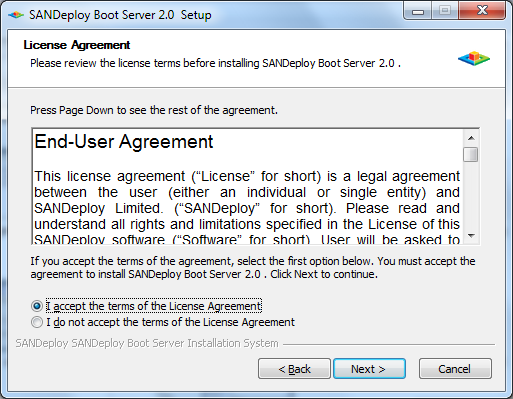
Step 2. License Agreement
User must read the license agreement carefully. Only if user accepts the terms and conditions specified in
that document, user can select “I accept the terms in the License Agreement” and
press the Next button to continue the installation. Otherwise, user must select “I do not accept the terms in the License Agreement” and exit the installation procedure.
Step 3. Choose Components window
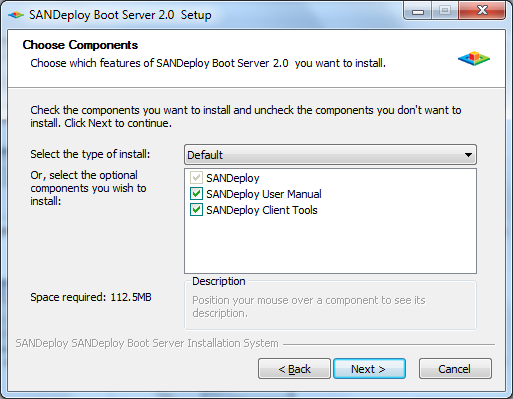
Select the components that need to be installed.
- SANDeploy - Core module of this product, you must select it.
- SANDeploy User Manual - User manual document.
- SANDeploy Client Tools - The SANDeploy PXE diskless boot package for deploying to each client.
Press the Next button to continue.
Step 4. Choose Install Location
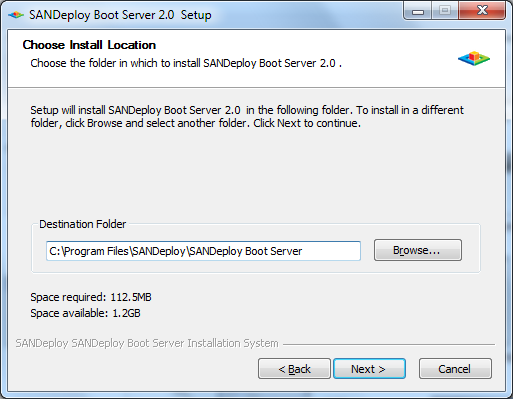
Please select the folder to install the software.
By default, the installation folder is C:\Program Files\SANDeploy\SANDeploy
Boot Server. To install the software
to another location, press the Browse… button to select the new location.
Press the Next button to continue.
Step 5. Choose Start Menu Folder
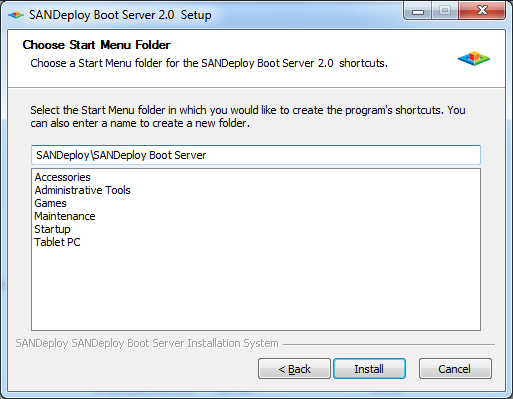
Specify the start menu folder.
Press the Install button to start the installation.
Step 6. Finish SANDeploy Installation
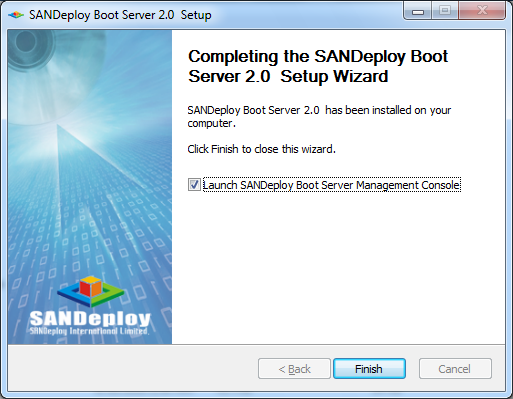
After installation is finished, press the Finish button to exit.
The SANDeploy Boot Server has been
successfully installed on the computer.
- Online Help
- Installing SANDeploy Boot Server
- General Configuration
- Creating Target
- Creating Standard Image Volume
- Creating Target Using Physical Optical Drive
- Creating Partition Disk Volume
- Creating Physical Disk Volume
- Createing SPTI (SCSI Pass Through Interface) Volume
- Create Virtual CD/DVD Volume
- Creating VMDK Image Volume
- Boot Settings
- License Settings
- Target Settings
- Volume Settings
- User Management
- Group Management
- Workstation Management
- Starting and stopping servers
- Uninstalling SANDeploy Boot Server